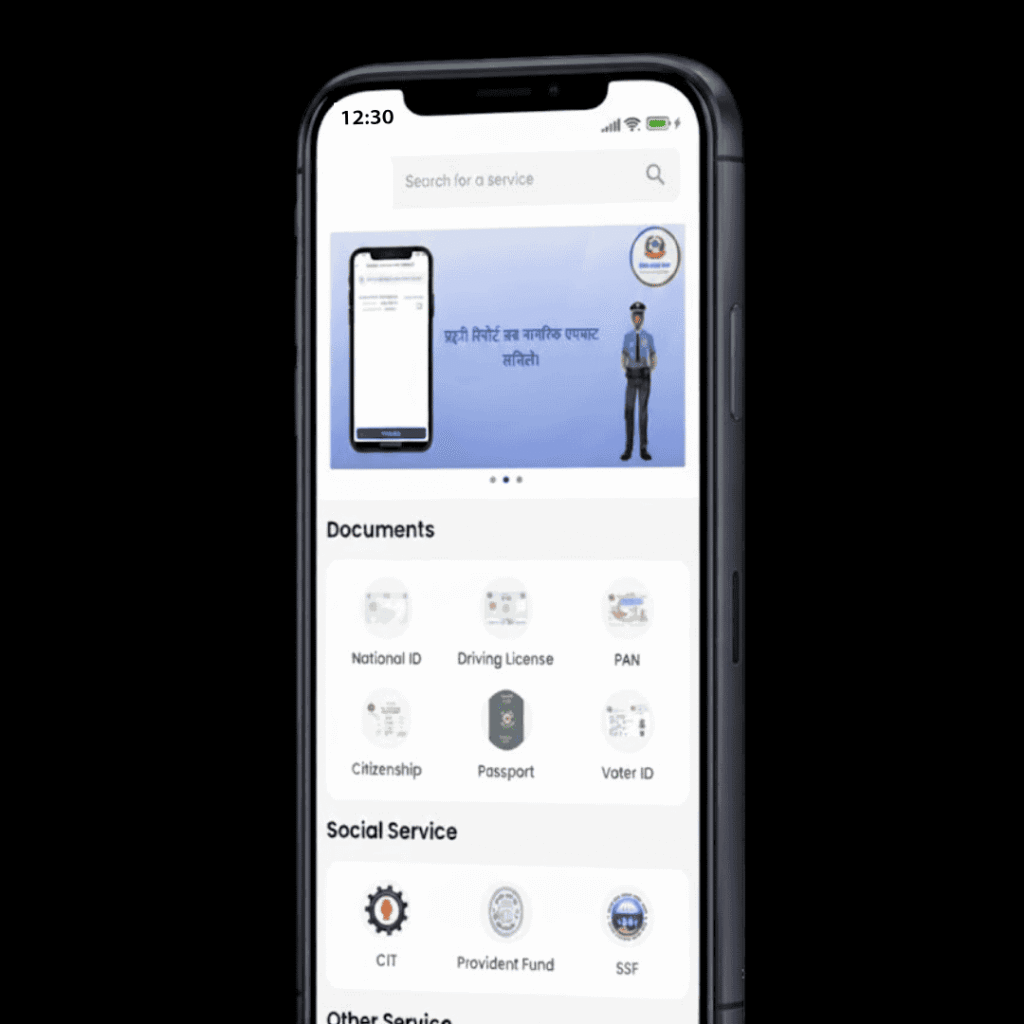
The Nagarik App is the official government mobile application in Nepal that allows citizens to access multiple services conveniently from their smartphones. You can link your identity documents, manage your driving license, apply for PAN, pay utility bills, take online traffic classes, lodge complaints, apply for passes, and much more. This guide provides a detailed step-by-step explanation of everything you need to know to make the most out of the Nagarik App.
Download the Nagarik App
The app is available for both Android and iPhone. Download it to get started:
- Android: Download from Google Play
- iPhone: Download from App Store
Once installed, you can start creating your account and linking your documents.
How to Create an Account on Nagarik App
Step One: Install and Open the App
After downloading, open the app. Tap Register to start creating your account.
Step Two: Enter Your Mobile Number
Use a mobile number registered under your name. You will receive a one-time password (OTP) which you must enter to verify your number.
Step Three: Select Your Identity Type
You can verify your identity using any of the following:
- National ID (NID)
- Citizenship
- Passport
- Voter ID
Step Four: Fill Personal Details
Enter your full name, date of birth, and ID number exactly as on your document. Upload any required photos or scans.
Step Five: Complete Verification
The app verifies your details with the government database. After verification, your account becomes active and you gain access to all citizen services.
Linking Identity Documents in Nagarik App
Linking your identity documents makes it easy to use your ID for multiple services. You can link multiple IDs at once and switch between them in the app.
National ID
- Go to Documents → Add ID → National ID
- Enter your NID number and date of birth
- Upload a photo if requested
- Submit and wait for verification
Once verified, your NID can be shown digitally anywhere
Citizenship Certificate
- Go to Documents → Add ID → Citizenship
- Enter citizenship number, issue district, and full name
- Upload a photo if needed
- Verification completes and your citizenship is linked digitally
Voter ID
- Go to Documents → Add ID → Voter ID
- Enter voter ID number, province, and full name
- The app verifies your registration and displays your voter ID digitally
This is useful for elections and government verification
Passport
- Go to Documents → Add ID → Passport
- Enter passport number, issue date, expiry date, and country
- Upload a scan or photo if needed
- The app verifies your passport digitally
Your passport can now be used for travel or banking verification
Linking Your Driving License
Digital driving licenses make it easy to show your license without carrying a physical card.
Step One: Open the App
Log in and navigate to the Driving License section.
Step Two: Enter License Details
Enter your license number exactly as printed. Select your province and category if required.
Step Three: Fetch Your License
Tap Search. Your official license information is retrieved from the Department of Transport Management database.
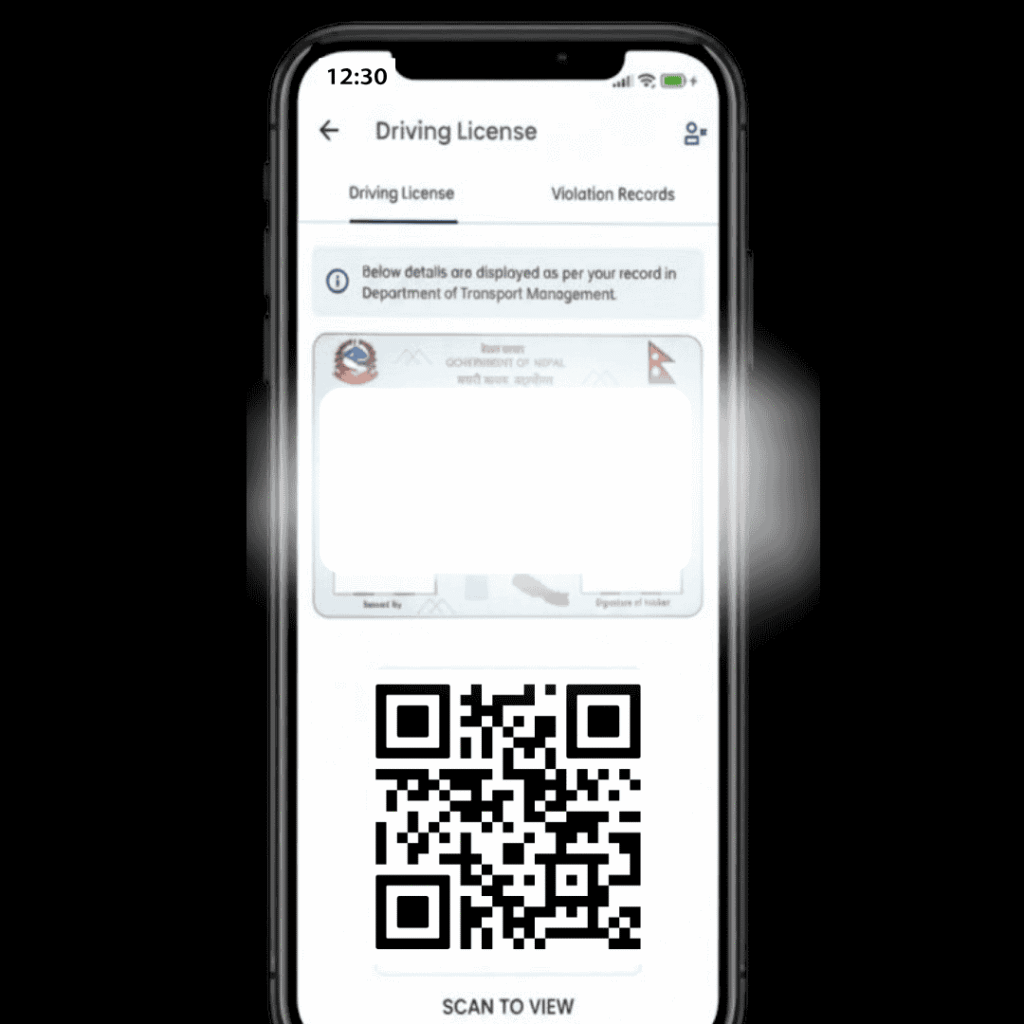
Step Four: View Digital License
Your license appears with your photo, number, expiry date, and other details.
Step Five: QR Code Automatically Generated
A QR code is created automatically. Traffic police can scan this QR directly from your phone. You no longer need to carry a physical license.
Paying Traffic Fines with QR
If you receive a fine, you can pay it digitally using the app.
Step One: Police Scan QR
During a traffic stop, your QR is scanned and an eChallan or digital fine is issued.
Step Two: Open Violation Records
Go to Driving License → Violation Record. You can see the fine amount, offence type, chit number, and due date.
Step Three: Pay Fine Online
Pay using:
- eSewa
- Khalti
- ConnectIPS
- Bank card
You can also pay physically at Rastriya Banijya Bank using your voucher number.
Step Four: Confirmation
After payment, your violation record shows as cleared. Your QR license remains fully active.
Online Traffic Classes
For certain violations, you may need to complete an online class.
- Go to Driving License → Violation Record
- Tap Take Online Class
- Watch video lessons and complete quizzes
- Your violation may be resolved without attending a physical training center
Applying for PAN in Nagarik App
Step One: Open PAN Section
Log in → PAN / Tax Services
Step Two: Apply for PAN
Tap Apply for Individual PAN
Step Three: Fill Details
Enter your full name, date of birth, parent names, address, mobile number, and ID details
Step Four: Submit Application
Upload documents and submit
Step Five: PAN Generated
Your digital PAN certificate is available in the app immediately
Using PAN to Get a Dollar Card
Most Nepali banks accept digital PAN from the Nagarik App. Check your bank requirements first. For a detailed step-by-step guide:
How to Use Your PAN for a Dollar Card
Applying for Jobs
You can use your digital IDs for job applications, especially government or transport jobs.
- Open Documents
- Download PDFs of NID, citizenship, PAN, or driving license
- Attach these files in your job application
These IDs are accepted as verified identity
Lodging Complaints
The app allows you to submit complaints about government services, municipalities, or traffic issues.
- Open Complaints section
- Select complaint type
- Describe the issue and upload photos if needed
- Submit and track status online
Managing Electricity and Water Bills
- Open Utilities section
- Select electricity or water service
- Enter your account or meter number
- View and pay bills digitally using e-wallets or bank integration
- Past payment history is stored for future reference
Other Useful Features
- Receive government notifications for fines, bills, and approvals
- Link multiple IDs for easy verification
- Use QR codes for digital verification instead of carrying documents
- Apply for government passes such as Singha Durbar or local area passes